Run Coder in Okteto Cloud

Online IDEs are becoming mainstream due to their ability to provide true one-click development environments, surpass the capabilities of developer machines and enable a new level of team collaboration. A few examples are Coder, Codeanywhere, Codenvy or AWS Cloud9.
On the other hand, Docker and Kubernetes are the de facto standard to deploy applications. Kubernetes makes easier and faster than ever to run online IDEs in the cloud. At the same time, an online IDE running inside Kubernetes might improve the Kubernetes developer experience, one of the main Kubernetes pain points.
In this blog post, we will cover this scenario using Coder, an online IDE serving Visual Studio Code, and Okteto, a tool that makes it very simple to deploy development environments in Kubernetes.
What is Coder?
Coder is an online IDE serving VS Code, compatible with the VS Code extensions you already know and love. And it is beautifully dockerized. You can try it locally by executing the command below from your project's source code folder:
$ docker run -it -p 127.0.0.1:8443:8443 -v “${PWD}:/home/coder/project” codercom/code-server
-allow-http -no-auth
This is an easy way to try Coder, but the power of online IDEs is to have them running in the cloud, in your own Kubernetes cluster. The benefits of this approach are:
- On-demand development environments that spin up in milliseconds.
- Your development environment can consume services running in your clusters, such as logs and metrics aggregators or a Kafka instance, for example.
- Superpass the capabilities of your development machine. Network and hardware go at the speed of the cloud.
- Code in a production-like environment and reduce integration issues to the minimum.
- Your development environment is in the cloud, available for anyone for fast validation or troubleshooting.
Powerful, isn’t it? Let’s see how we can automate the Coder orchestration in Kubernetes with Okteto.
What is Okteto Cloud?
The Okteto CLI is an open source tool that lets you develop directly in your Kubernetes cluster. It does the following things:
- Mount a folder from your local filesystem to a remote container.
- Forwards ports from the remote container to your local machine.
- Replace the original remote container image by another one with all your dev tools available.
The source code is available here. Check it out and star it if you like it 🤗!
To install the Okteto CLI in your computer, follow the installation instructions and check that it is properly installed by running:
$ okteto version
okteto version 1.12.3
The Okteto CLI works in any Kubernetes cluster. However, to make things simpler, we are going to follow this guide using Okteto Cloud, which gives you free access to secure Kubernetes namespaces, fully integrated with remote development capabilities. Initialize your Okteto Cloud account by running this command:
Run okteto context in your local console to create a free Okteto Cloud account and configure your Okteto CLI context. We'll be needing it later in the post.
okteto context use https://cloud.okteto.com
 ✓  Using context pchico83 @ cloud.okteto.com
 i  Run 'okteto kubeconfig' to set your kubectl credentials
Run the following command to download your Kubernetes credentials:
$ okteto kubeconfig
✓ Updated context 'cloud_okteto_com/pchico83' in '/Users/pchico83/.kube/config'
You are now ready to deploy our application.
Deploy the Python Sample App
Get a local version of the Python Sample App by executing the following commands in your local terminal:
$ git clone https://github.com/okteto/samples
$ cd samples/coder
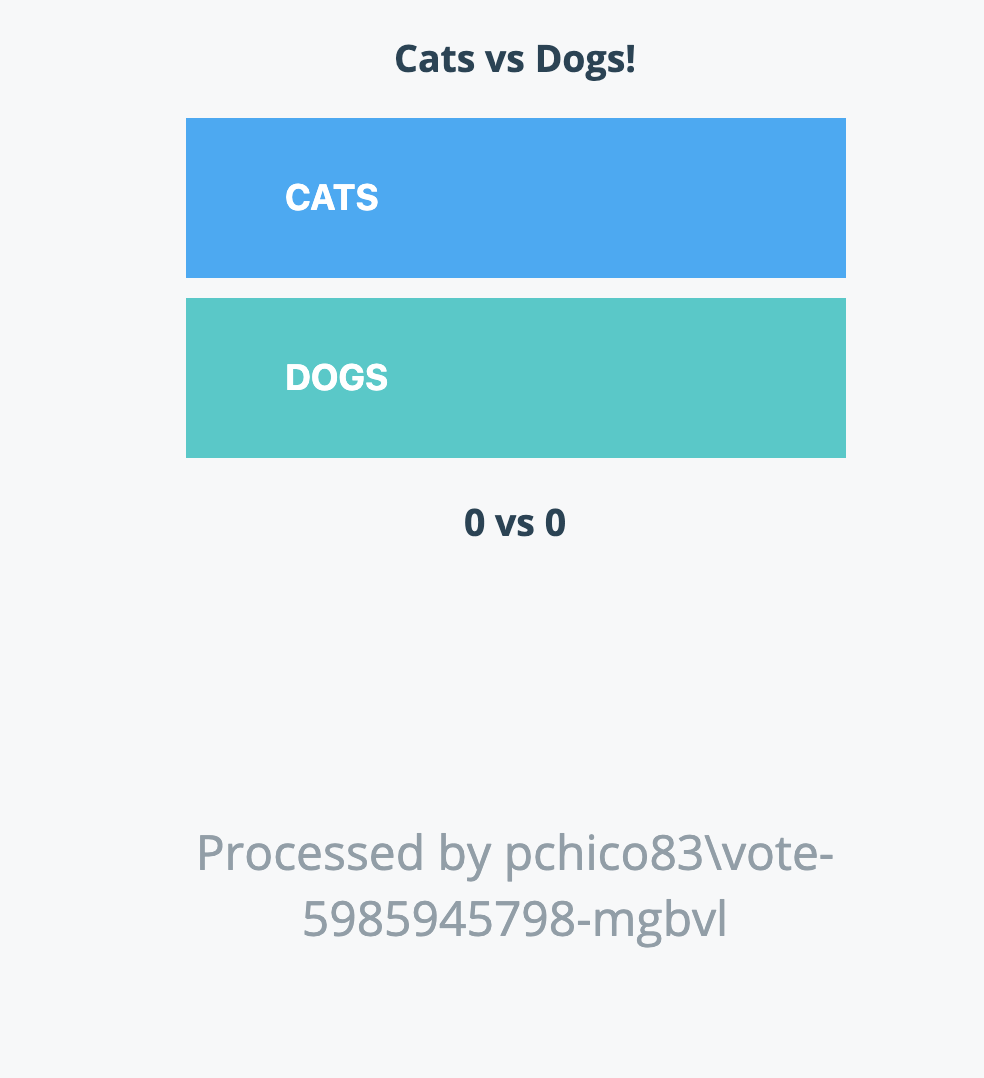
You now have a functioning git repository that contains the Python Sample App, a web application that lets you place votes for your favorite animals (votes are stored in Redis). In the manifest directory, you also have raw Kubernetes manifests to deploy the application. To deploy the application execute:
$ kubectl apply -f manifests
service "redis" created
statefulset.apps "redis" created
deployment.apps "vote" created
service "vote" created
If you don’t have kubectl installed, follow this guide.
Wait for a few seconds and the Python Sample App will be ready. Open your browser and go to https://cloud.okteto.com. The application's endpoint will be displayed on the right side of the screen.

Click on it to see your application running:
Activate your Coder environment
Cool! Now that we have the application running, we are going to use Okteto to replace the python container with our containerized development environment. The development environment will contain a fully-configured Coder instance and, thanks to Okteto, all our source code.
This way your Coder Terminal is running inside of the Kubernetes cluster. Execute the python application from your Coder Terminal, and seamlessly, it will be integrated with the HTTPS endpoint provided by Okteto. Your application can now consume every resource available in your Kubernetes cluster, including the Redis instance we deployed earlier.
And you get all that by simply executing one command:
$ okteto up
 ✓  Development environment activated
 ✓  Files synchronized
    Namespace: pchico83
    Name:      vote
    Forward:   8080 -> 8080
               8081 -> 8081
...
INFO code-server development
...
INFO Connected to shared process
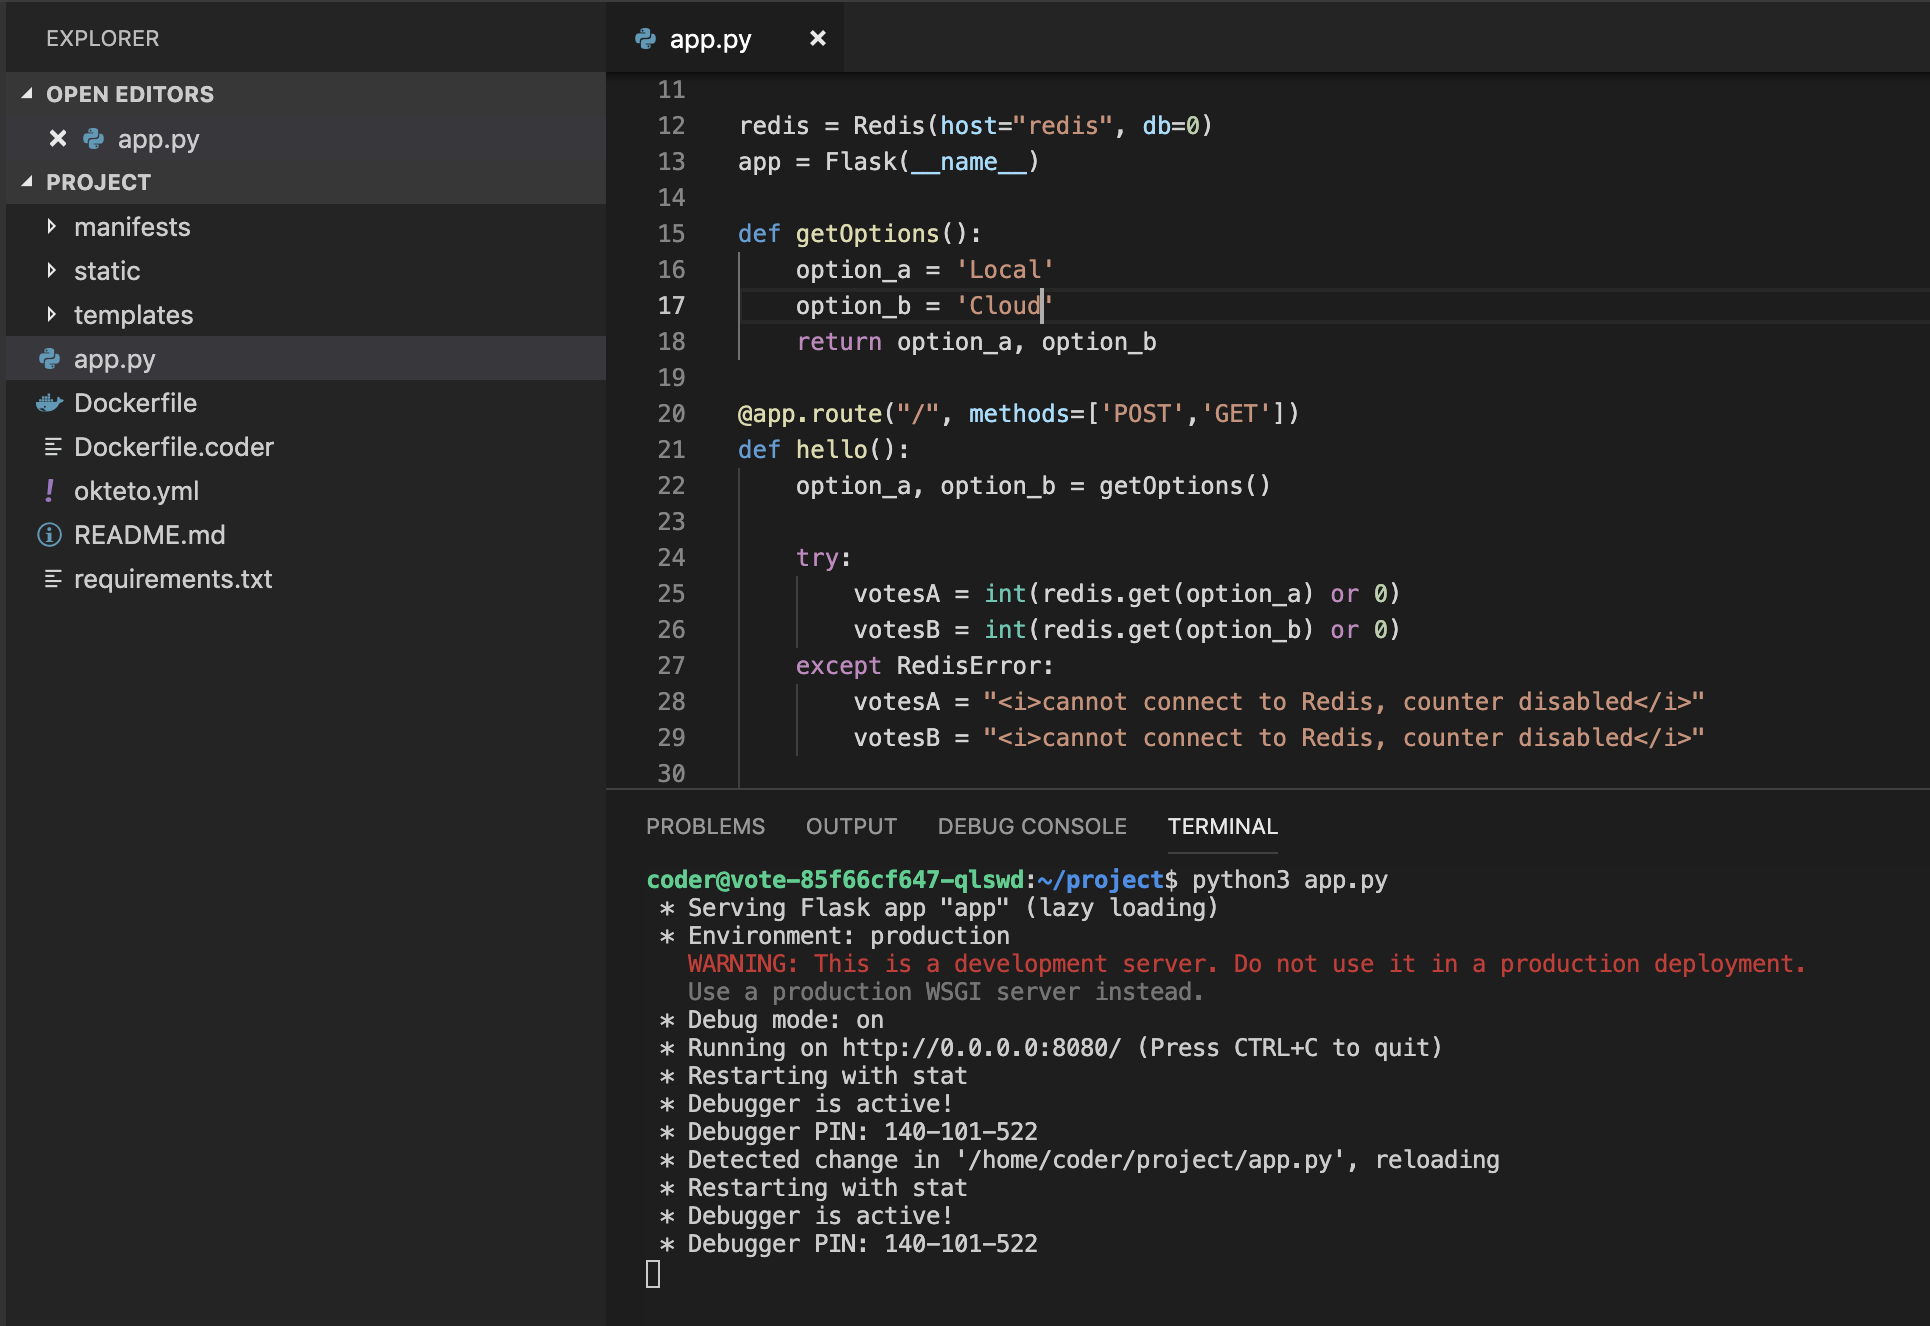
Go back to your browser and go to http://localhost:8081 to access your Coder IDE instance through Okteto's secure tunnel. The IDE is already configured with your source code (freshly synchronized from your local machine by Okteto) and with all the plugins you need to develop the python app.
Now that we have our IDE ready, let's do some development. Open app.py and modify the getOptions function so that instead of animals, you can vote between Local and Cloud development.
Save your changes, open a terminal directly in Coder and start the application by running python app.py.
Go back to the application endpoint and reload the page. Yes, your changes are instantly applied! No commit, build or push required 😎!
Keep editing your files and enjoy all the Coder features and VS Code extensions, but run everything remotely in a production-like environment.
Let's step back for a second and analyze what happened when executing okteto up. okteto up reads metadata from the okteto.yml file. Let’s have a look at the content of this file:
name: vote
image: okteto/coder-python:dev
workdir: /home/coder/project
command: ["dumb-init", "code-server", "--auth", "none", "--port", "8081", "--host", "0.0.0.0"]
environment:
  - FLASK_ENV=development
forward:
  - 8081:8081
  - 8080:8080
Based on the field name , okteto up replaces the deployment called vote by a container running your development image , okteto/coder-python:dev. This image is generated by the stage dev of the Dockerfile file, which installs python and pip dependencies from the base image codercom/code-server. It also installs two VS Code extensions, vscodevim.vim and ms-python.python. Note that all this is available in your development environment without you having anything installed locally, and how everything is configured directly from the repo.
The field workdir is used to indicate the path where your local folder is synchronized in the remote container. The synchronization is based on syncthing and it is bidirectional. Remote changes done in your Coder IDE will be synced back to your local filesystem. This way you can use other tools locally if You need then (e.g. a git visualizer).
Finally, the forward field indicates that the remote ports 8081 and 8080 will be forwarded to your laptop over a secure tunnel. http://localhost:8081 exposes the Coder IDE, and the URL http://localhost:8080 exposes the python application locally.
Conclusions
We have shown the advantages of developing directly in Kubernetes while keeping the same developer experience than working on a local machine. Our development environment was deployed with a single command, and everything came configured directly from the repo, including python dependencies and VS Code extensions. Stop dealing with local environments and become a Cloud Native Developer today!


 Arsh Sharma